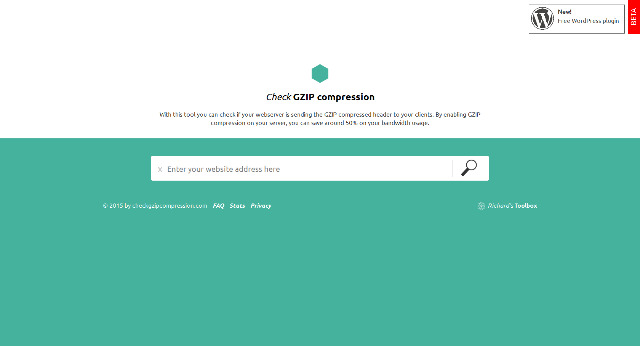
(圖一)Check GZIP compression 網站
提升 WordPress 速度
提升 WordPress 速度一直是多數網友很想瞭解的一個課題,在 WordPress 的官網上也有很
多相關的外掛程式,目的就是在提升網誌的速度與效能。關於網站速度的影響因素很多,伺服器的硬體設備,網路頻寬的大小,網站程式的內容,網頁檔案的大小…煩不勝舉,都有可能是影響網站運行速度的原因,接著分享的小技巧,是如何讓 WordPress 網誌,可以在不安裝外掛程式的情況下,增進一些些的效能,改善網站的速度。下列的步驟主要的目的是開啟網站檔案壓縮的功能(enable gzip compression),進一步達到提升網站速度的目的。
1. 打開瀏覽器前往首檔案壓縮功能(enable gzip compression)測試網站,先先確認一下目前擁有的網站是不是有開啟檔案壓縮的功能(圖一)。如果有(圖三),那麼這篇文章可以略過,如果沒有(圖二)可以繼續參考下一個步驟。
2. 開啟安裝WordPress的資料夾,找到.htaccess檔案,透過文字編輯軟體開始編輯。
3. 在.htaccess檔案中置入如下語法。
|
1 2 3 4 5 6 7 8 9 10 11 12 13 14 15 16 |
# 壓縮的檔案格式 text, html, javascript, css, xml: AddOutputFilterByType DEFLATE text/plain AddOutputFilterByType DEFLATE text/html AddOutputFilterByType DEFLATE text/xml AddOutputFilterByType DEFLATE text/css AddOutputFilterByType DEFLATE application/xml AddOutputFilterByType DEFLATE application/xhtml+xml AddOutputFilterByType DEFLATE application/rss+xml AddOutputFilterByType DEFLATE application/javascript AddOutputFilterByType DEFLATE application/x-javascript AddType x-font/otf .otf AddType x-font/ttf .ttf AddType x-font/eot .eot AddType x-font/woff .woff AddType image/x-icon .ico AddType image/png .png |
4. 以上完成,再到文章一開始提供的測試網站,可以看到網站上顯示檔案壓縮成功的訊息。
(註)
1. 這一個簡單的方法只適用於 Apache 伺服器主機。
2. Check GZIP compression 網站:http://checkgzipcompression.com/
(圖二)GZIP is not enabled
(圖三)It’s GZIP Enabled
